
Unlock your potential—2025 is the year to take control with tool build projects that fit your unique needs. Whether you want to automate tasks, boost creativity, or solve everyday challenges, building your own tools is now more accessible than ever. This guide is here to empower beginners, breaking down complex steps into simple actions. We’ll explore key concepts, walk through each phase, help you choose the right tools, and share expert tips to avoid common mistakes. Ready to discover the real-world benefits of tool build and start your journey? Let’s dive in together.
Understanding Tool Build: Key Concepts and Benefits
Unlocking the world of tool build is easier than ever in 2025. Whether you’re interested in software or hardware, understanding the basics gives you the confidence to start creating solutions tailored to your needs. Let’s break down what tool build means, why it matters, and how it can benefit you today.

What is Tool Build?
Tool build refers to the process of designing and creating solutions—either software or hardware—that address specific problems. In software, tool build might mean developing utilities, plugins, or workflow automations. For hardware, it could involve assembling gadgets or custom electronics.
Unlike standard product development, tool build focuses on solving targeted issues, often for personal, business, or community use. For example, you might build a time-tracking app, a custom inventory scanner, or a simple automation script. Tool build is about making tools that work exactly the way you need them to.
Why Tool Build Matters for Beginners
For beginners, tool build offers a unique path to empowerment. Instead of relying on generic solutions, you can tackle your own challenges head-on. Creating your own tools often saves money compared to buying expensive off-the-shelf products.
Another key benefit is skill development. By engaging in tool build, you gain hands-on experience in design, problem-solving, and technical skills. This learning journey can boost your confidence and open new career opportunities, all while delivering real value to yourself or your business.
Core Benefits in 2025
In 2025, tool build is more accessible than ever. Modern no-code and low-code platforms allow anyone to create powerful tools without deep programming knowledge. The rise of online communities means you can find help, share ideas, and learn from others at every step.
Adoption of no-code solutions continues to accelerate, with industry data showing a 23% year-over-year growth from 2023 to 2024. Many of these trends are highlighted in No-Code/Low-Code Statistics and Trends 2025, illustrating how speed, affordability, and community support are making tool build mainstream.
Common Use Cases and Success Stories
Tool build empowers people and organizations to solve real problems. For example, a small business might automate inventory tracking with a custom app, reducing manual work. An individual could build a personalized time-tracking tool to boost productivity.
Open-source hardware kits make it easy to prototype gadgets quickly. Across industries, these stories show how tool build helps beginners and experts alike turn ideas into reality—often with minimal resources and rapid results.
Step 1: Planning Your Tool Build Project
Starting your tool build journey begins with a solid plan. Planning sets the stage for success, helping you avoid common pitfalls and maximize your chances of creating a valuable solution. Let’s break down the essential steps to help you launch your project with clarity and confidence.
Identifying the Problem and Setting Goals
Every successful tool build starts with a clearly defined problem. Ask yourself: What pain point or inefficiency do you want to solve? Be specific, as a focused problem statement guides your entire process.
Set SMART goals—Specific, Measurable, Achievable, Relevant, and Time-bound. For example, if you're a freelancer, your tool build might aim to automate invoice generation, cutting manual work by 50% within one month.
Write your problem and goal down. This simple step keeps your tool build on track and helps you measure progress as you move forward.
Researching Existing Solutions
Before jumping into development, explore what's already available. Analyze both market products and open-source offerings. This research prevents you from reinventing the wheel and can inspire your own tool build.
Use platforms like GitHub for open-source projects or Product Hunt and app marketplaces for commercial tools. Look for gaps, strengths, and weaknesses in current solutions. Sometimes, building on top of an existing tool build is smarter than starting from scratch.
Take notes on features, pricing, and user feedback. This groundwork will inform your own requirements and help you create something unique and valuable.
Mapping Out Requirements and Features
With your research in hand, list out your must-have and nice-to-have features. Use user stories to visualize how people will interact with your tool build. For example: “As a freelancer, I want to generate invoices in one click so I can save time.”
Create a feature prioritization matrix:
| Feature | Must-Have | Nice-to-Have |
|---|---|---|
| Invoice Generation | ✔ | |
| Custom Branding | ✔ | |
| Automated Reminders | ✔ |
This approach ensures your tool build delivers core value first. Mapping requirements clearly now saves headaches later.
Choosing the Right Platform or Technology
Selecting the best platform is crucial for your tool build. Consider your technical skills, budget, and long-term goals. Options include no-code tools, low-code platforms, traditional coding, or hardware kits.
No-code and low-code platforms are especially popular in 2025, making tool build projects more accessible than ever. For a detailed breakdown of these options and top vendors, check out this guide on Low-Code and No-Code Development Platforms.
Evaluate each option for cost, scalability, and learning curve. Remember, 65% of new apps in 2024 were built using no-code or low-code platforms, reflecting their growing importance in tool build strategies.
Planning for Scalability and Maintenance
Think beyond your first version—plan your tool build for growth. Will you need to support more users or new features in the future? Lay the groundwork now by using version control systems like Git and writing clear documentation.
For software projects, consider how your tool build could integrate with other services via APIs. For hardware, plan for modular upgrades. This mindset ensures your tool build remains useful and adaptable as your needs evolve.
Timeline and Budgeting Considerations
Estimate the time and resources needed to reach your minimum viable product (MVP). Break down your tool build into phases, assigning realistic deadlines to each.
Budget for tools, hosting, and potential support costs. Use a simple table to keep track:
| Item | Estimated Cost |
|---|---|
| Platform Fee | $20/month |
| Hosting | $10/month |
| Support | $0–$50/mo |
Guard against scope creep by sticking to your original requirements. This discipline keeps your tool build project manageable and increases your chances of a successful launch.
Step 2: Designing and Prototyping Your Tool
Designing and prototyping are the heart of any successful tool build. At this stage, your ideas move from imagination into concrete plans, ensuring your tool build meets real needs. Let’s explore how to turn concepts into user-friendly prototypes and set the stage for development.
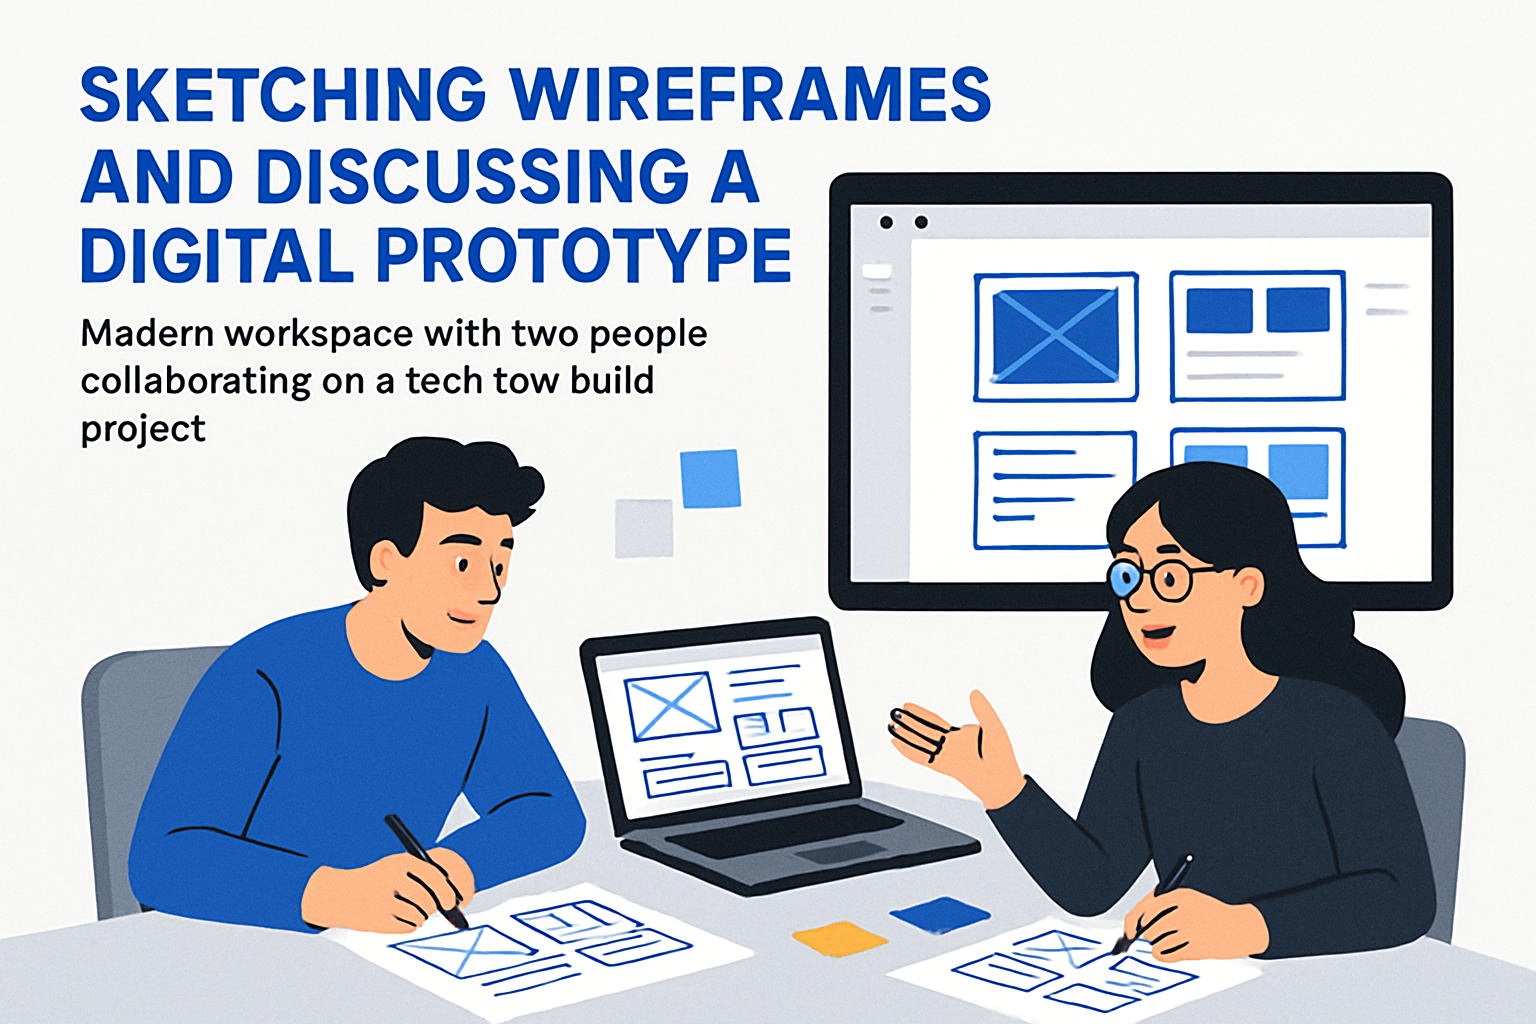
Wireframing and User Experience (UX) Basics
Effective tool build projects always start with user-centric design. Wireframing helps you visualize the layout, structure, and flow before investing time in development. Use digital tools like Figma or Sketch, or even simple pen-and-paper sketches, to draft your ideas.
Consider how users will interact with your tool build. Map out screens, navigation, and key actions. User feedback at this stage can prevent costly changes later. For inspiration and to stay ahead of trends, explore the Rise of Low-Code and No-Code Platforms in 2025 to see how modern platforms make design more accessible.
- Start with a simple layout (home, menu, main feature)
- Identify user entry points and common tasks
- Sketch a wireframe for a basic task manager or checklist
A well-structured wireframe makes your tool build intuitive and user-friendly.
Creating a Prototype
With your wireframe in hand, it’s time to build a prototype. Prototypes bring your tool build to life and allow for early feedback. Decide between low-fidelity (simple, clickable wireframes) or high-fidelity (detailed, interactive) models.
Here’s a quick comparison:
| Prototype Type | Speed to Create | Detail Level | Best For |
|---|---|---|---|
| Low-fidelity | Fast | Basic | Quick validation |
| High-fidelity | Slower | Detailed | Realistic user tests |
Use interactive mockups to test flows and gather feedback. Early testing ensures your tool build solves the right problems. Remember, iterate based on what users say, not just what you think works.
Selecting Visual and Functional Elements
Your tool build’s usability depends on well-chosen visual and functional elements. Pick UI components—like buttons, forms, navigation bars—that make tasks easy and accessible.
Prioritize accessibility from the start. Following WCAG standards ensures everyone can use your tool build. Choose color palettes with high contrast for readability and test font sizes for clarity.
Example checklist:
- Select clear, simple icons
- Use accessible color combinations
- Keep navigation consistent across screens
Thoughtful design choices will make your tool build stand out for all users.
Gathering Feedback and Iterating
Continuous feedback is vital to refining your tool build. Use surveys, interviews, or usability tests to see how real users interact with your prototype. Focus on where they get stuck or confused.
Most successful tool build projects go through three or more design iterations. Each round of feedback helps you discover what works and what doesn’t. Don’t be afraid to make changes—iteration is key to quality.
Tips for iteration:
- Schedule regular usability sessions
- Document what users like and dislike
- Prioritize fixes based on user impact
Iterating ensures your tool build evolves into something users truly need.
Preparing for Development or Build Phase
Before development, finalize your tool build’s specifications and documentation. This step is crucial, especially if you’re working with a team. Clear specs prevent misunderstandings and wasted effort.
Create a concise handoff document:
- Final wireframes and prototypes
- Feature list with priorities
- User stories and personas
Avoid common mistakes, like overcomplicating your MVP. Focus on delivering a simple, functional version first. A streamlined approach keeps your tool build on track and ready for the next phase.
Step 3: Building, Testing, and Launching Your Tool
Ready to bring your tool build vision to life? This is where planning transforms into action. With the right setup, a clear process, and a focus on quality, you’ll turn ideas into a working solution—whether it’s a software app or a hardware gadget.
Setting Up Your Build Environment
Before you start coding or assembling, create a strong foundation for your tool build. Select your platform: no-code, low-code, traditional coding, or even hardware kits. Each option has distinct setup requirements.
For software, install essential tools like code editors or sign up for no-code platforms such as Bubble.io or Adalo. For hardware, organize your kits and parts in a dedicated workspace. Version control is a must—tools like Git help you track changes and collaborate smoothly.
Here's a quick setup checklist:
- Choose your platform (no-code, low-code, code, hardware)
- Set up your project folder or workspace
- Initialize version control (e.g.,
git init) - Gather documentation and templates
With the rapid rise of no-code platforms, setup has become more accessible than ever. In fact, No-Code Market Growth Statistics 2025 reveal their adoption is at an all-time high, making tool build projects faster and more inclusive.
Developing Core Features
Now, translate your requirements into action. Start with the most critical features identified during your planning phase. For a tool build focused on productivity, this might be a clean input form or a dashboard.
Use an iterative development approach. Build a feature, test it, gather feedback, and refine. This cycle keeps your tool build agile and responsive to user needs.
For example, if you’re creating a time-tracking app, begin by coding or configuring the task input form and timer logic. Test each feature before moving on. Remember, focus on core functionality for your MVP—don’t get distracted by extras at this stage.
Integrating Essential Tools and Services
Most tool build projects benefit from integrations. APIs let your tool connect with external services, while databases store your data securely. Consider authentication systems for user management and automation tools for streamlined workflows.
Common integrations include:
- Payment gateways (Stripe, PayPal)
- Email services (SendGrid)
- Analytics tools (Google Analytics)
- Automation (Zapier, Make)
Did you know over half of tool build solutions launched in 2024 integrated with at least one external API? This approach adds value and saves time. Plan your integrations early and document each connection for easier maintenance.
Testing and Quality Assurance
Testing is where your tool build gains reliability. Use both manual and automated tests to catch issues early. Manual testing involves running through user flows, while automated scripts check code or workflows for errors.
Common bugs include broken links, data validation errors, and integration failures. Create a user acceptance testing (UAT) checklist to ensure nothing is missed:
- All core features work as expected
- Data saves and loads correctly
- Integrations respond properly
- UI displays well on devices
- Error messages are clear
Test with real users when possible. Their feedback is crucial for polishing your tool build before launch.
Launching Your Tool: Best Practices
A great tool build deserves a smooth launch. Start with a beta or soft launch to a small group of users. This allows you to gather feedback and address any last-minute issues.
Prepare a launch checklist:
| Step | Complete? |
|---|---|
| Final testing | [ ] |
| Documentation ready | [ ] |
| Support channels live | [ ] |
| Analytics set up | [ ] |
| Backup created | [ ] |
Promote your tool build on social media, relevant forums, or to your target audience. Stay available for support and ready to fix any post-launch bugs.
Post-Launch Monitoring and Support
Once your tool build is live, the journey continues. Set up analytics (like Google Analytics) to track usage and user behavior. Monitor support channels—email, chat, or forums—to catch questions and issues early.
Keep a bug tracker or simple spreadsheet to log problems and feature requests. Rapid iteration is key: update your tool build regularly based on user feedback and analytics insights.
Remember, a strong support system turns new users into advocates and keeps your tool build relevant and helpful.
Avoiding Common Pitfalls and Troubleshooting
Embarking on your tool build journey is exciting, but even the most enthusiastic beginners run into obstacles. Knowing the common mistakes and how to troubleshoot can help ensure your project stays on track and delivers real value.
Top Mistakes Beginners Make
Every beginner faces hurdles in tool build, but the most common pitfalls are surprisingly avoidable. Overengineering is a frequent trap—adding too many features before confirming the basics work. On the flip side, under-planning leads to confusion and wasted effort as the project grows.
Another key mistake is ignoring user feedback or skipping testing. Without real-world validation, even promising ideas can fall flat. For example, a tool build designed for time tracking failed because it didn’t address users’ actual workflow. Always ground your tool build in genuine needs and test early.
Debugging and Problem-Solving Strategies
Troubleshooting is a core skill for any tool build project. When things break, start with a systematic approach: isolate the problem, check assumptions, and review recent changes. Documentation and error logs are your allies here.
Don’t hesitate to tap into community forums or official docs—sites like Stack Overflow offer quick answers from experienced builders. For instance, if your tool build integration stops working, double-check API keys and connection settings. A clear, methodical process can turn a frustrating bug into a valuable learning moment.
When to Pivot or Abandon a Tool Build
Sometimes, the hardest part of tool build is knowing when to change course. The sunk cost fallacy often keeps creators working on tools that no longer meet their goals. Look for signs such as persistent user disinterest, technical roadblocks, or shifting requirements.
It’s perfectly normal to pivot or even abandon a tool build. Data shows that 30% of beginner projects are re-scoped or stopped entirely. Recognizing when it’s time to move on can free up resources and energy for more promising ideas.
Learning from Setbacks and Iterating
Setbacks are part of every tool build journey. Instead of seeing failure as defeat, treat it as a stepping stone. Document what worked, what didn’t, and why—this habit turns mistakes into future strengths.
Many successful tools only found their niche after multiple pivots. For example, a productivity app may start as a task manager, evolve through several iterations, and finally succeed as a team collaboration tool. Each twist in the tool build process is a chance to learn and improve.
Expert Tips, Resources, and Next Steps
Ready to take your tool build journey to the next level? This section delivers actionable strategies, curated resources, and forward-thinking advice to boost your confidence and results. Whether you're polishing your workflow or looking for ways to showcase your achievements, these expert insights are designed to keep you moving forward.
Must-Know Tips for Efficient Tool Building
Efficiency is the secret sauce for any successful tool build. Start by breaking your project into manageable tasks. Use Kanban boards or digital tools like Trello to track progress and stay organized. Prioritize your must-have features first and avoid getting lost in unnecessary details.
Don't underestimate the power of documentation. Keep notes on your process, decisions, and code snippets. Regular check-ins and short review sessions help you catch issues early and adapt quickly. By working in small, focused sprints, your tool build will progress smoothly without overwhelming you.
Recommended Learning Resources and Communities
Learning never stops, especially when you're navigating the tool build landscape. Tap into high-value online courses such as freeCodeCamp or Coursera for foundational skills. YouTube channels like The Coding Train and DesignCourse offer practical tutorials for beginners.
Join thriving communities like Dev.to or the Indie Hackers forum to exchange ideas, get feedback, and find collaborators. Open-source toolkits on GitHub are goldmines for inspiration and reusable code. Remember, tool build projects with community support have double the completion rates, making collaboration a winning strategy.
Leveraging AI and Automation in Tool Building (2025 Trends)
In 2025, AI and automation are transforming every stage of tool build. Platforms now offer AI-driven no-code builders that suggest layouts, generate code, and even automate testing routines. Smart prototyping tools use machine learning to predict user flows and optimize designs.
Automation isn't just for development. Deploy bots for customer support, bug tracking, and continuous integration. By embracing these trends, your tool build process becomes faster, smarter, and more resilient to change. Explore AI-powered resources early to gain a competitive edge.
Building a Portfolio and Showcasing Your Work
Documenting your tool build journey is a game changer for future opportunities. Share your process and finished projects on GitHub, your personal website, or social media platforms like LinkedIn. A well-organized portfolio demonstrates your skills and attracts collaborators or employers.
Consider writing case studies or project retrospectives to highlight your growth and learning curve. Visuals, screenshots, and short videos make your tool build stand out. Remember, your portfolio is your living resume—keep it updated and let your work open new doors in tech.
You’ve seen how building your own tools—without coding experience—can unlock new possibilities and make your ideas real faster than ever in 2025. If you’re excited to put these steps into action and turn your concept into something you can actually use (or even launch to others), why not get a head start? With the right no-code approach, you don’t have to wait months to see results. Let’s make your first MVP a reality together—check out how you can Launch Your MVP in Weeks, Not Months and move from learning to building today.

About Big House
Big House is committed to 1) developing robust internal tools for enterprises, and 2) crafting minimum viable products (MVPs) that help startups and entrepreneurs bring their visions to life.
If you'd like to explore how we can build technology for you, get in touch. We'd be excited to discuss what you have in mind.
Other Articles
Discover the top 9 AI tools for Bubble developers in 2026 to boost productivity, streamline workflows, and build smarter no code apps with cutting edge AI.
Learn how to build MVPs in 2025 with a proven step-by-step guide. Discover expert frameworks, real success stories, and actionable tips to launch faster.
Discover the 2025 guide to enterprise app development services, covering trends, technologies, and partner selection to drive digital transformation and growth.