
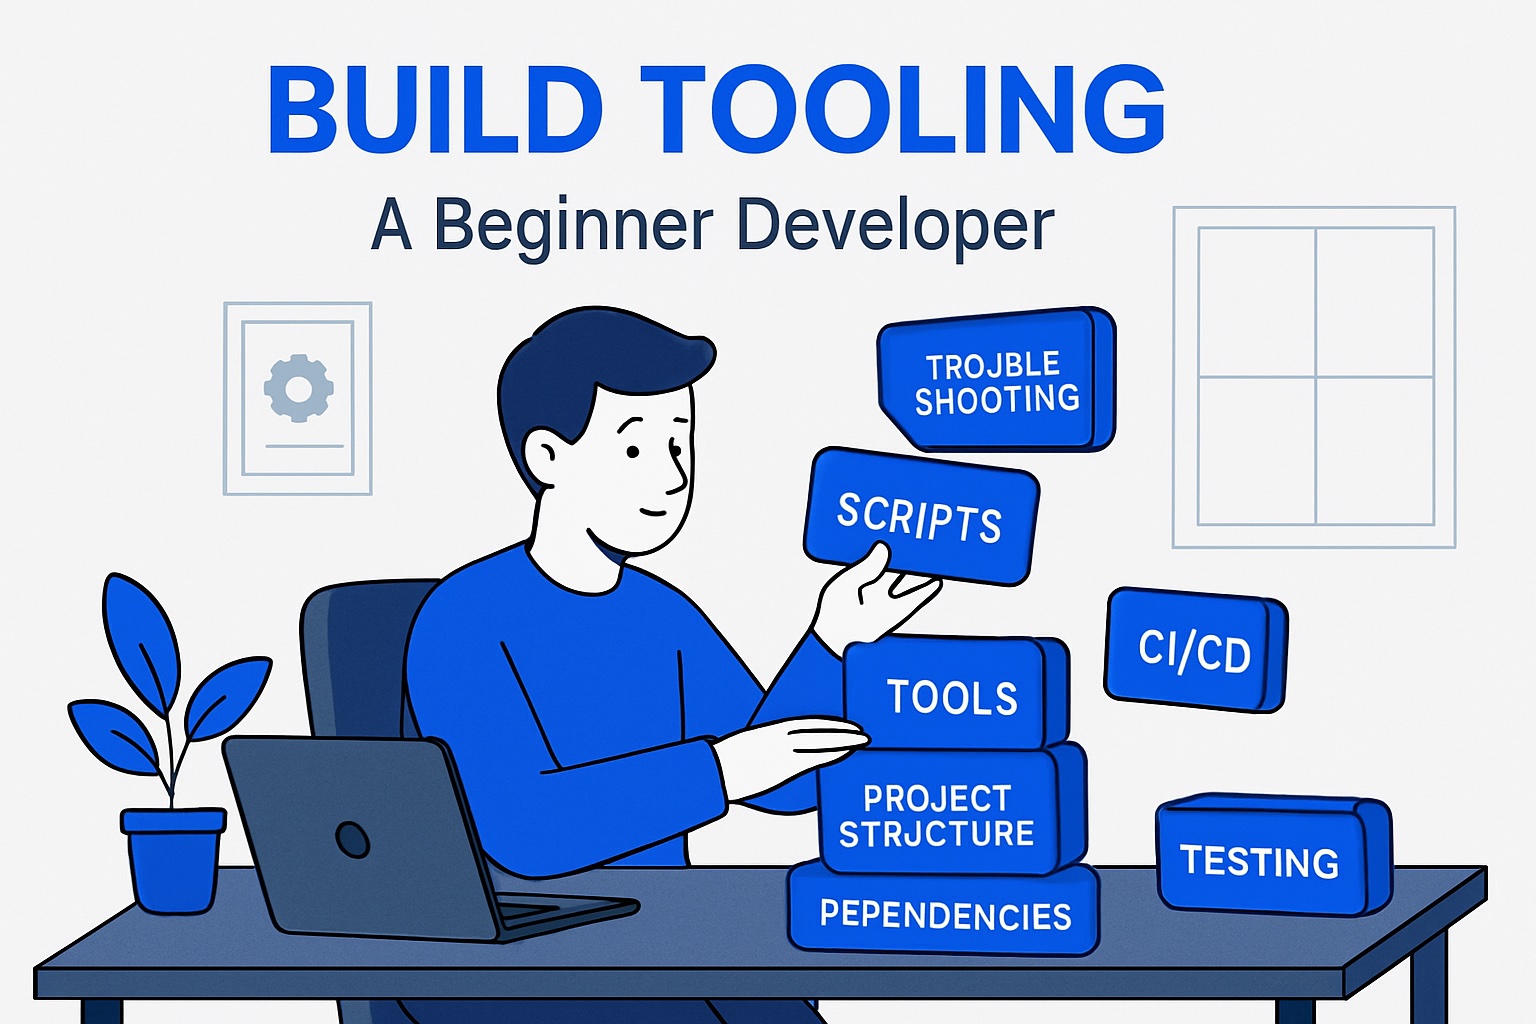
Are you overwhelmed by the maze of build tooling in today's fast-paced software world? You're not alone—many beginners struggle to untangle the jargon and endless choices. This guide is here to make build tooling approachable, giving you a clear, step-by-step path to understanding the essentials.
You'll discover what build tooling is, why it matters in 2025, which tools are core, and how to pick the right setup for your needs. Say goodbye to confusion and wasted hours. By the end, you'll unlock faster, more reliable workflows and feel ready to take your first confident steps into modern development.
What is Build Tooling and Why Does It Matter in 2025?
Unlocking the power of build tooling is the first step for any beginner aiming to improve their software development workflow. But what does this term really mean, and why is it so essential in 2025? Let’s break down the basics, trace how build tooling has evolved, and see why it’s a must-have for modern teams.
Defining Build Tooling: Core Concepts and Terminology
Build tooling refers to the set of automated tools and processes that help developers turn their raw code into deployable software. At its core, build tooling covers everything from compiling source code and managing dependencies to bundling assets and deploying applications.
Key terms include:
- Build automation: Automating repetitive tasks like compiling or packaging code.
- Dependency management: Handling external libraries or packages your project relies on.
- Compilation: Translating source code into machine-readable instructions.
- Bundling: Combining code and assets for efficient delivery.
- Deployment: Publishing the finished product for users.
A typical build tooling pipeline coordinates these steps, ensuring software is built consistently every time.
The Evolution of Build Tooling: From Manual to Automated
In the early days, developers built software manually, running separate commands for each step. This was error-prone and slow. As projects grew, tools like Make and Ant emerged, automating parts of the process. Over time, more advanced solutions like Maven, Gradle, and Webpack appeared, each pushing build tooling forward.
New-gen tools introduced features like task automation, efficient dependency resolution, and smart error detection. Today, automation is standard, making build tooling essential for productivity and reliability.
Why Build Tooling is Crucial for Modern Projects
Modern development teams rely on build tooling for speed, consistency, and collaboration. Automated builds mean fewer mistakes and predictable results across different environments. Build tooling is the backbone of continuous integration and deployment (CI/CD), enabling teams to release features faster and with greater confidence.
According to the Stack Overflow Developer Survey 2023, 85% of teams using automated build tooling report faster release cycles. This highlights how adopting the right tools can give your project a real competitive edge.
Common Challenges Without Proper Build Tooling
Skipping build tooling often leads to headaches for teams and beginners alike. Without the right tools, projects are at risk of inconsistent builds, manual errors, and wasted hours tracking down issues.
For example, teams may face delays from missed dependencies or mismatched environments. Beginners who overlook build tooling frequently encounter these setbacks, which can stall progress and sap motivation.
Build Tooling Trends in 2025
Build tooling in 2025 is shifting rapidly. Cloud-based and AI-assisted systems are on the rise, making automation more accessible. Developers are increasingly turning to no-code and low-code build pipelines, which simplify setup and reduce barriers for newcomers. The popularity of platforms like GitHub Actions and cloud-native CI/CD tools continues to grow, reflecting the demand for seamless, scalable build tooling.
The field is evolving fast, so staying informed about these trends is vital for anyone wanting to keep their projects competitive and efficient.
Key Components of a Modern Build Toolchain
Modern build tooling is at the heart of every successful software project in 2025. Understanding its key components unlocks not just faster development, but also smoother collaboration and higher code quality. Let's break down the essential building blocks that make up a robust build toolchain.
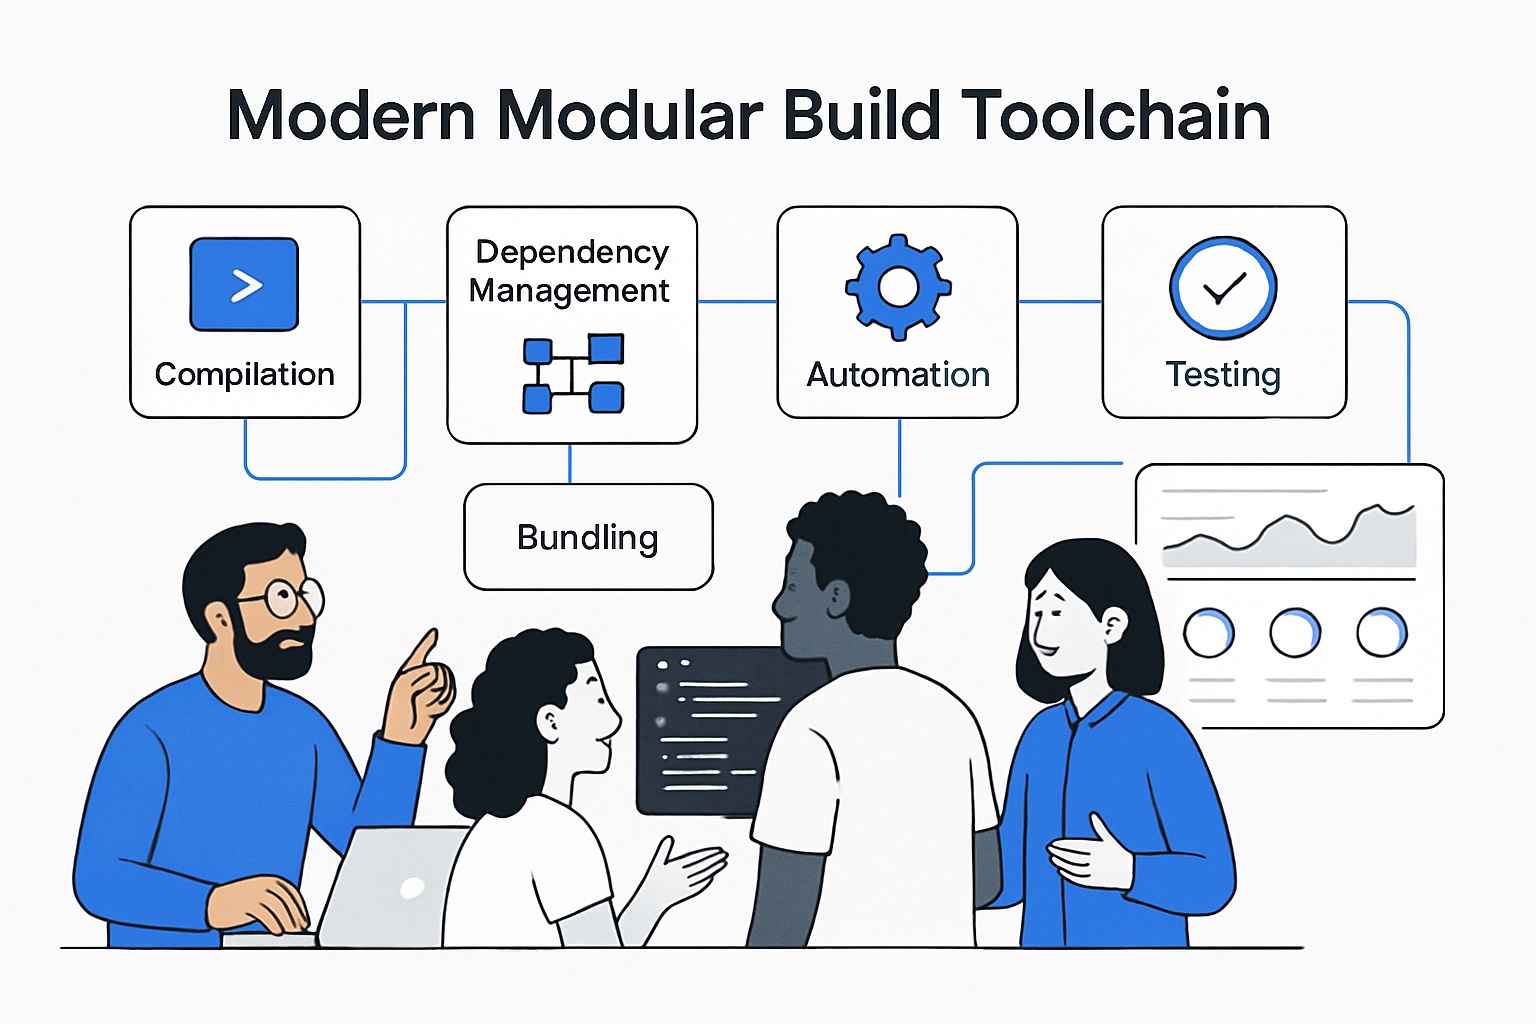
Source Code Compilation and Transpilation
At the core of build tooling lies the process of transforming human-written code into a format computers understand. Compilation refers to converting languages like Java or C++ into machine code. Transpilation, on the other hand, means translating code from one high-level language to another, such as TypeScript to JavaScript.
In 2025, popular compilers include GCC for C/C++, and javac for Java. For transpilation, Babel and SWC stand out for JavaScript projects, enabling compatibility and performance. Here’s a simple TypeScript transpilation example:
tsc index.ts
Many teams rely on build tooling to automate these steps, ensuring consistent outputs across environments. This automation is vital for both solo developers and large teams.
Dependency Management
Most projects depend on external libraries and packages. Build tooling makes managing these dependencies straightforward, reducing the risk of conflicts and outdated code.
Popular tools in 2025 include npm, Yarn, and pnpm for JavaScript; Maven for Java; and NuGet for .NET. These tools handle installing, updating, and locking dependencies for reproducibility. Automated vulnerability scanning—like npm audit—protects against security risks.
Key practices include:
- Using lock files (
package-lock.json,yarn.lock) - Regularly updating dependencies
- Running security checks before deployment
Well-managed dependencies keep your build tooling reliable and secure.
Task Runners and Automation Scripts
Repetitive tasks can slow down any workflow. Task runners and automation scripts help streamline processes like linting, testing, and file cleaning.
Gulp and Grunt are classic task runners, while npm scripts and Makefiles offer built-in automation. For example, you might add this script to your package.json:
"scripts": {
  "lint": "eslint .",
  "test": "jest",
  "build": "webpack"
}
Build tooling excels at combining these scripts, reducing manual effort and human error. Automating these steps ensures consistency across your team.
Bundlers and Module Management
Bundlers are essential for optimizing and preparing code for deployment. They take source files, resolve imports, and produce optimized bundles for browsers or servers.
Webpack, Vite, and Parcel are leading bundlers in 2025. They support features like tree-shaking (removing unused code) and code splitting (loading only what’s needed). The result: smaller bundle sizes and faster load times.
Modern build tooling uses these tools to maximize efficiency and user experience.
Testing and Quality Assurance Integration
Integrating testing into your build tooling is crucial for maintaining code quality. Automated tests catch bugs early and provide confidence in your releases.
Common test types:
- Unit tests: Test individual functions
- Integration tests: Test combined modules
- End-to-end (E2E) tests: Simulate real user interactions
Tools like Jest, Mocha, Cypress, and Playwright are widely used in 2025. Build tooling can automate running these tests and generate coverage reports, ensuring every change is validated before deployment.
Continuous Integration and Deployment (CI/CD) Integration
Continuous integration and deployment automate the process of building, testing, and releasing software. CI/CD pipelines—powered by platforms like GitHub Actions, GitLab CI, and CircleCI—are now a staple of modern build tooling.
Typical workflow:
- Code is pushed to the repository
- CI pipeline runs builds and tests
- Successful builds trigger deployments to staging or production
By integrating CI/CD, build tooling supports rapid iteration, collaboration, and higher release quality. For a broader view of how these practices fit into the bigger picture, check out the Software development guide 2025.
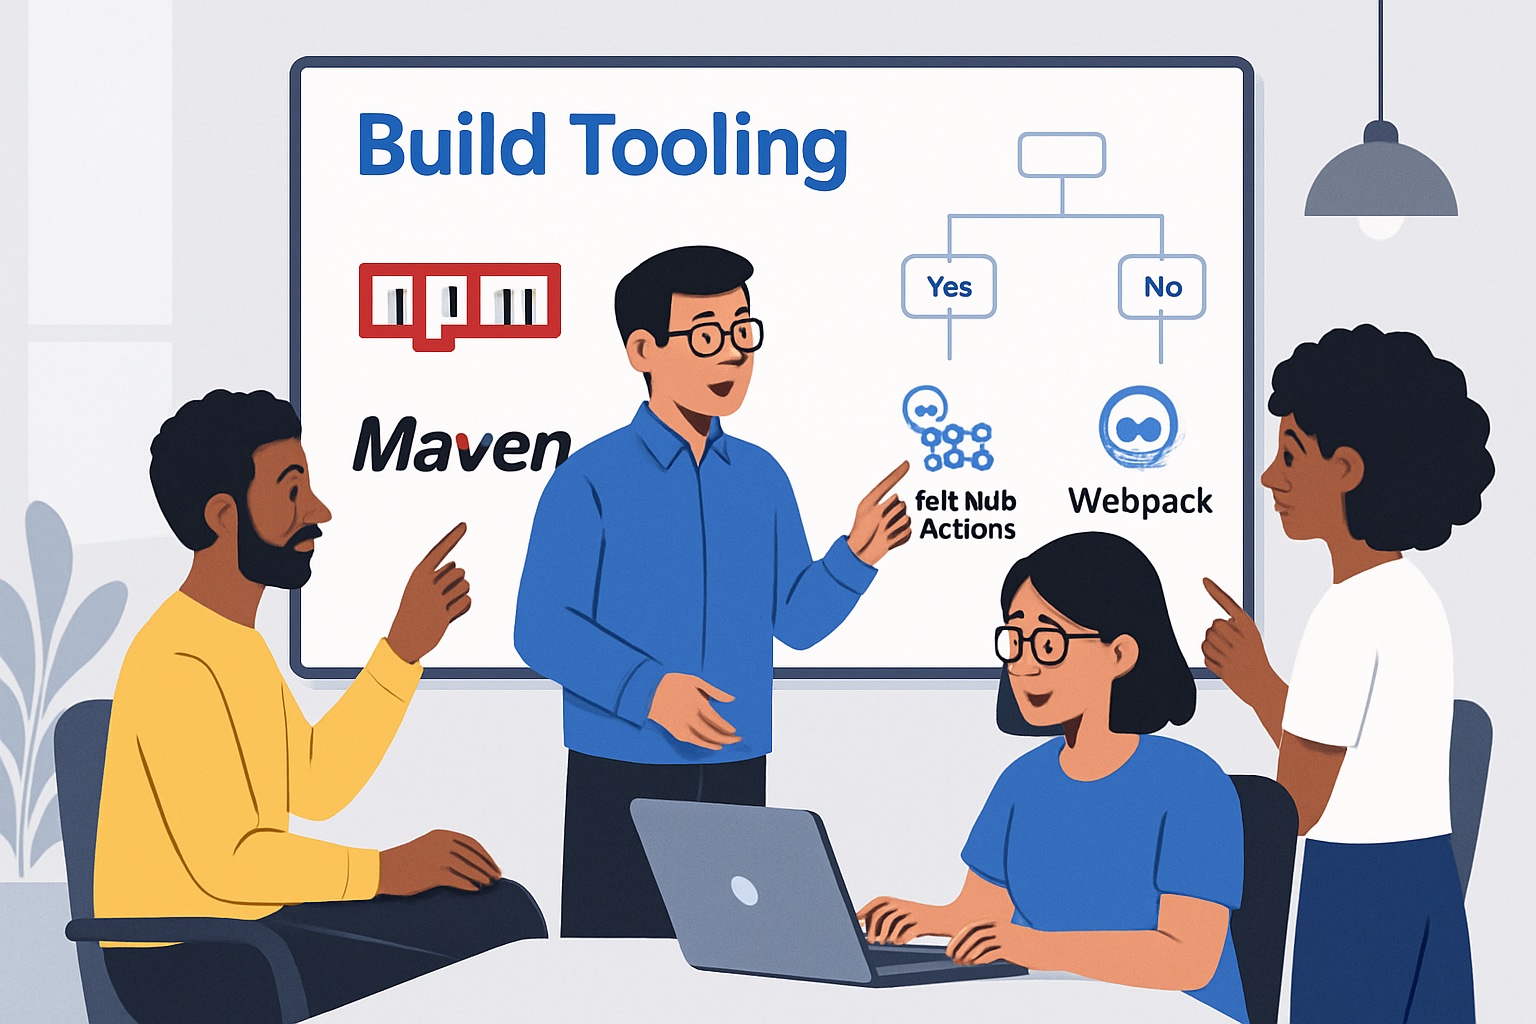
How to Choose the Right Build Tools for Your Project
Choosing build tooling can feel overwhelming, especially with the rapid changes in tech. Making the right decision sets the foundation for a smooth workflow and future growth. Let's break down the key factors to help you pick the ideal tools for your project in 2025.
Assessing Project Requirements and Team Skills
Start by evaluating what your project actually needs from build tooling. Consider the programming language, frameworks, and deployment targets. Does your team have prior experience with certain tools, or is there a steep learning curve ahead?
- What platforms or environments are you targeting?
- Do you need support for web, mobile, or backend?
- How important is speed versus flexibility?
If your team is new to development or exploring visual platforms, it may help to review resources like Choosing the right no-code platform to guide the selection process for build tooling that matches your team's strengths.
Comparing Popular Build Tools in 2025
Once you know your needs, compare the top build tooling options in your ecosystem. Look at speed, extensibility, and community support. For example, JavaScript projects may choose between npm, pnpm, or Yarn, while Java teams often weigh Maven against Gradle.
Selecting build tooling that aligns with your stack ensures smoother integration and future maintenance.
Balancing Simplicity vs. Flexibility
Should you opt for a simple tool or a more powerful, configurable one? For small teams and startups, straightforward build tooling can reduce setup time and complexity. Enterprises or projects with complex needs may benefit from more flexible solutions, even if they require extra configuration.
Case Study:
A small startup building a web app might use npm scripts and Vite for simplicity. In contrast, a large enterprise with microservices could rely on Gradle or a custom pipeline for flexibility and scalability.
Striking a balance is key—choose build tooling that fits your current scope but can grow with your ambitions.
Evaluating Ecosystem and Community Support
Active communities and strong documentation are vital when adopting any build tooling. Before committing, check if the tool is actively maintained and widely adopted. Look for:
- Frequent updates and security patches
- Rich plugin ecosystems
- Helpful forums and clear guides
Relying on abandoned or niche build tooling can lead to future headaches and limited support.
Future-Proofing Your Toolchain
Technology evolves quickly, so choose build tooling with a solid roadmap and backward compatibility. Watch for signals of active development and community investment. If you’re working with legacy code, consider migration paths and compatibility layers.
Monitor trends, such as the shift toward cloud-based and AI-assisted build tooling, to ensure your choices remain relevant. Planning ahead reduces the risk of disruptive migrations down the road.
Step-by-Step Guide: Setting Up Your First Build Toolchain
Ready to dive into build tooling? This step-by-step guide will help you set up your very first build toolchain, even if you’re starting from scratch. We’ll break down each phase into actionable steps, provide practical examples, and highlight common pitfalls to avoid. By the end, you’ll have a working foundation for efficient, repeatable builds—no matter your experience level.
Step 1: Define Your Project Structure and Goals
Before you even touch a build tooling command, take time to map out your project’s structure and objectives. A clear folder hierarchy keeps your work organized and your build process smooth.
Here’s a typical layout for a new project:
Folder/FilePurpose/srcSource code/testsTest files/dist or /buildBuild outputREADME.mdProject documentationpackage.json (or equivalent)Build tooling config
Ask yourself: What do you want your build tooling to automate? Compiling code? Running tests? Deploying to staging? Define these goals early—future you will thank you!
Step 2: Select and Install Core Build Tools
Next, choose the core build tooling that matches your project’s language and needs. For JavaScript, npm is standard; for Java, you might use Maven or Gradle. Python projects often use pip and setuptools.
To install npm and initialize your project:
npm init -y
This command creates a package.json file—a foundation for build tooling. Exploring no-code solutions for faster development can also be a smart alternative if you want to streamline setup or work in a low-code environment.
Step 3: Configure Build Scripts and Automation Tasks
Now, set up scripts to automate your essential tasks. In package.json, add scripts for building, testing, and deploying.
Example:
"scripts": {
  "build": "webpack",
  "test": "jest",
  "lint": "eslint .",
  "start": "node dist/app.js"
}
With build tooling, you can run these tasks with simple commands like npm run build. Automate code linting, formatting, and other repetitive jobs to save time and reduce errors.
Step 4: Integrate Dependency Management
Effective build tooling always includes robust dependency management. Use your tool’s package manager (npm, yarn, pip, etc.) to install and update libraries.
Example:
npm install express
Don’t forget to generate a lock file (package-lock.json or yarn.lock) to ensure consistent builds across environments. Regularly audit dependencies for vulnerabilities and commit lock files to version control for reliability.
Step 5: Add Testing and Quality Assurance Steps
Testing is a must-have for any build tooling setup. Integrate a test runner like Jest, Mocha, or PyTest, and automate test execution as part of your build process.
Example script addition:
"scripts": {
  "test": "jest --coverage"
}
Automated quality checks help catch bugs early and keep your codebase healthy. Use code coverage tools to measure how much of your code is tested, and treat failing tests as blockers for deployment.
Step 6: Set Up Continuous Integration (Optional for Beginners)
To supercharge your build tooling, connect your repository to a CI platform like GitHub Actions. This step runs builds and tests automatically on every pull request or commit, reducing manual work and spotting issues early.
A basic CI workflow file (.github/workflows/ci.yml) might look like:
name: CI
on: [push, pull_request]
jobs:
  build:
    runs-on: ubuntu-latest
    steps:
      - uses: actions/checkout@v3
      - run: npm install
      - run: npm run build
      - run: npm test
According to the 2024 State of DevOps Report, teams using CI/CD pipelines see notable improvements in productivity and reliability.
Step 7: Troubleshooting and Optimizing Your Build Process
Finally, expect a few bumps as you learn build tooling. Common mistakes include missing dependencies, misconfigured scripts, or unclear error messages.
Tips for troubleshooting:
- Read error logs carefully—they often point directly to the issue.
- Use
npm run <script> --verbosefor more detailed output. - Optimize your build process by enabling caching or parallelization where supported.
Over time, review and refine your build tooling scripts for simplicity and speed. Don’t hesitate to ask for help or consult documentation when stuck.
Best Practices and Tips for Efficient Build Tooling
Adopting best practices for build tooling can make or break your development experience. For beginners, mastering these habits leads to smoother workflows, fewer headaches, and more reliable releases. Let’s break down the essential tips every newcomer should know.
Keep Build Scripts Simple and Maintainable
Simplicity is your best friend in build tooling. Avoid piling on complex logic or too many nested commands in your scripts. Instead, break tasks into small, well-named scripts and document each step clearly. This makes it easier for teammates (and your future self) to understand and update the process.
- Use clear variable names and descriptive script labels.
- Add comments to explain non-obvious commands.
- Keep a concise README to describe your build tooling approach.
Remember, maintainable build tooling is easier to troubleshoot and less likely to cause confusion during onboarding.
Automate Everything That Can Be Automated
One of the biggest advantages of modern build tooling is automation. Identify all the repetitive tasks in your workflow—like testing, linting, or updating dependencies—and automate them. This reduces manual errors and frees up valuable developer time.
Common tasks to automate include:
- Running unit and integration tests
- Code formatting and linting
- Versioning and changelog generation
Teams that fully leverage automation in build tooling experience up to 30% fewer manual mistakes, streamlining the path from code to deployment.
Regularly Update and Audit Dependencies
Staying on top of your dependencies is critical in build tooling. Outdated libraries can introduce security vulnerabilities, bugs, or compatibility issues. Use automated tools to check for updates and vulnerabilities in your packages.
- Tools like Dependabot or npm audit can scan for risks.
- Schedule regular dependency reviews.
- Pin versions in lock files to maintain consistency.
Consistent updates ensure your build tooling remains secure and compatible with the latest technologies.
Monitor Build Performance and Bottlenecks
Efficient build tooling isn’t just about functionality—it’s about speed and reliability, too. Track your build times and identify slow steps using profiling tools. Addressing bottlenecks can drastically cut down development cycles.
- Profile builds regularly to spot inefficiencies.
- Optimize bundler configurations and leverage caching.
- Set up alerts for abnormal build durations.
For teams using continuous integration, understanding the causes of build failures is crucial. Studies such as Practitioners' Challenges and Perceptions of CI Build Failure Predictions at Atlassian show how predictive tools can help teams address issues before they block progress.
Foster a Culture of Continuous Improvement
Build tooling works best when it evolves with your team. Encourage open feedback on the build process, and make it a habit to reflect on what’s working and what isn’t. Regular retrospectives help uncover pain points and spark innovation.
- Hold short reviews after major releases.
- Share lessons learned and best practices.
- Document changes and keep guides up to date.
A strong documentation culture is essential. According to A Mixed Method Study of DevOps Challenges, teams that invest in documentation and training see fewer roadblocks and faster onboarding.
Stay Informed on Emerging Trends and Tools
The world of build tooling evolves rapidly. Stay curious—follow blogs, subscribe to newsletters, and join community forums. Attend webinars or conferences to learn about new tools, such as AI-assisted optimization or cloud-native build services.
- Bookmark trusted sources for news and tutorials.
- Experiment with promising new solutions in test projects.
- Watch for deprecations and plan migrations early.
By keeping up with trends, your build tooling will remain modern, efficient, and a step ahead of common pitfalls.
Now that you’ve got a solid grasp on build tooling basics and a clear roadmap to get started, why not take your ideas even further? If you’re ready to move from learning to launching—without getting bogged down in technical headaches—let’s make it happen together. At Big House Technologies, we help founders like you bring MVPs to life faster and smarter, using no-code and AI to streamline every step. You don’t have to wait months to see your vision in action. Launch Your MVP in Weeks, Not Months and start building your future today!

About Big House
Big House is committed to 1) developing robust internal tools for enterprises, and 2) crafting minimum viable products (MVPs) that help startups and entrepreneurs bring their visions to life.
If you'd like to explore how we can build technology for you, get in touch. We'd be excited to discuss what you have in mind.
Other Articles
Discover the leading Replit alternatives for enterprise development teams. Compare cloud IDEs, collaborative platforms, and no-code solutions.
Discover 9 essential ai powered no code development tools for 2026 that accelerate app creation and empower non technical users to innovate faster and smarter
Discover the ultimate guide for Flutter developers in 2025. Learn essential skills, top tools, and the latest trends to future-proof your Flutter career.